How to Make Garden Seed Bombs
This spring, I had the privilege of teaching a children’s garden class at a local library. The focus was on pollinators, why they matter, and how to plant a garden that supports them. A fun, hands-on project is always a good way to wrap up a class, and this time was no different. Garden seed bombs were on the docket, and today you’re going to learn how to make these tiny garden goodies.
Garden seed bombs are essentially flower seeds in a planting-ready package. Typically, the garden seeds are encased in a decomposable material such as soil or paper. This allows the gardener to simply plant the seed bomb in the soil and watch it take root. Another fun, and more wild planting method is to simply toss these seed bombs amongst the natural areas you have in your yard- woodland edges, meadows and fields, or even the back of an overlooked garden bed.
The name “seed bomb” comes from a movement known as guerilla gardening. Guerilla gardening is the practice of growing plants in abandoned or neglected spaces to beautify those areas or make a social or political statement. Garden seed bombs are often used in this strategy since they can simply be tossed into areas (or over fences!) and left alone to grow. While I don’t condone trespassing as a way to garden, I do love the idea of portable seed packages that can easily be incorporated in both wild and cultivated spaces. They’re fu and easy to make and are a great way to use up left over garden seeds. Let’s get into it!
Plants For Garden Seed Bombs
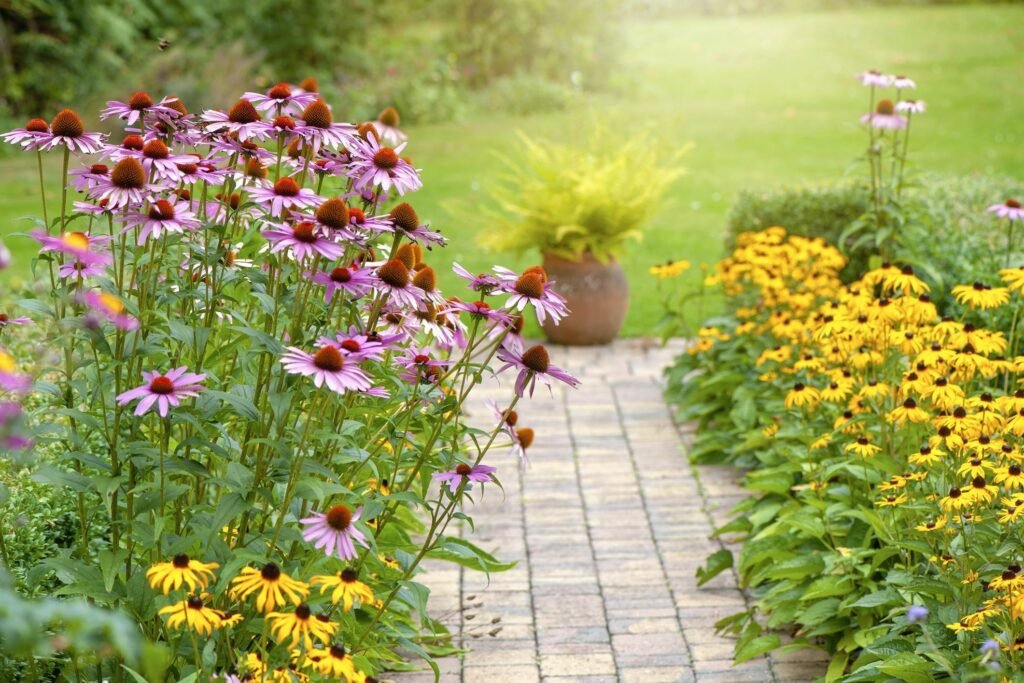
There are a number of seeds that work well for garden seed bombs. First off, you can choose between annual flower seeds and perennial flower seeds. Annual seeds will grow for one season, and common examples of these seeds include Zinnias, Cosmos, Sunflowers, Marigolds and Alyssum. Perennial seeds will return each spring and make nice cut flowers along with supporting pollinators. Echinacea, Black Eyed Susan, Bee Balm, Milkweed, Asters and Phlox are all good perennial choices. You can find seeds for these flowers in any garden center or various online retailers. You can also choose between just one variety of seeds or use a mixed pack of seeds. I used a mix of annual seeds for one set of seed bombs and perennial seeds for another set.
Supplies For Garden Seed Bombs
Makes about 15 seed bombs
- 1 pack of perennial or annual garden seeds
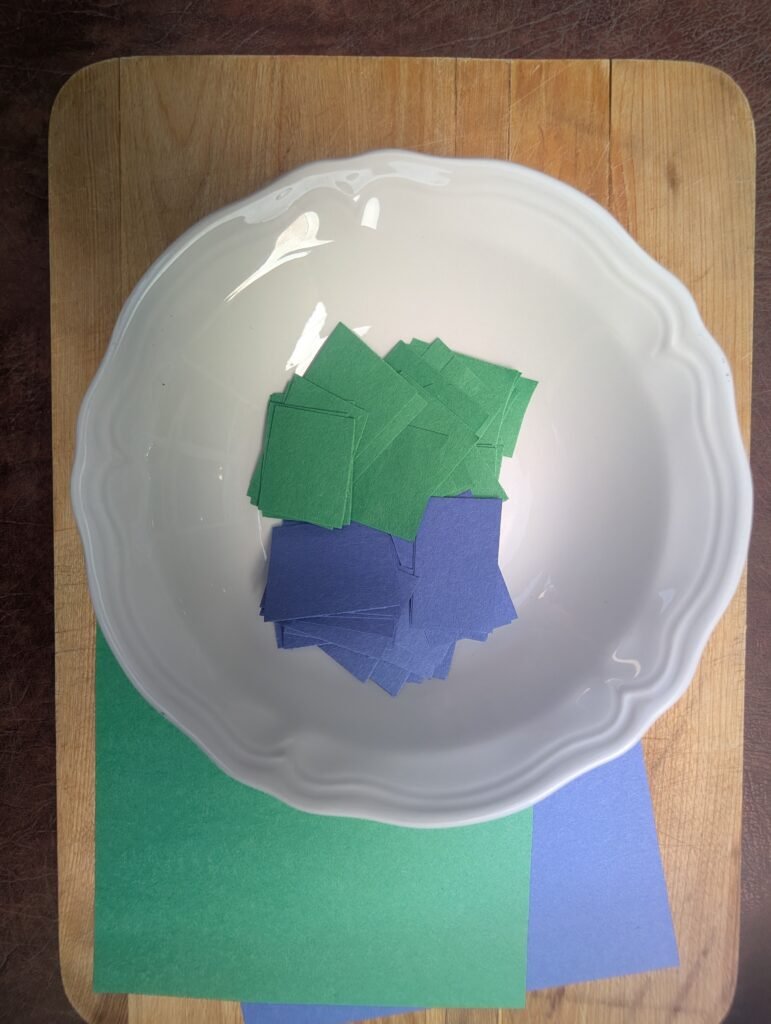
- 15 sheets of construction paper or recycled paper, cut into 1-inch pieces
- Blender
- Water
- Mixing bowls
- Strainer
- Cooling racks or plates
How to Make Garden Seed Bombs
- Cut your paper into small 1-inch squares. Think roughly the size of a quarter. This can be done pretty quickly by stacking several pieces of paper and simply cutting them into the approximate size with scissors. You can do all one color or several different colors of paper. If I’m using several types of seeds, I like to pair one seed type with one color of paper. That helps me remember which seed bombs are which type of flower once they’re dry.
- Add your cut paper to a larger mixing bowl and completely submerge in water. Leave it to soak for 15 minutes.
- In a strong blender, add your soaked paper and fill with several cups of water that the paper soaked in. Start to blend the paper and watch the consistency develop. You want to create a thick pulp and may need to add more water as it starts to blend. If it is very thick or not blending easily, that’s a sign you need more water. It’s going to be the consistency of a thick smoothie. You want the paper to be a smooth pulp without any squares of paper left. Don’t worry about adding too much water. Excess water will be strained out.
- Once your paper has become a watery pulp, dump it into a strainer. Place the stainer over an empty mixing bowl and push out excess water with your hands. You want to get most of the water out at this point. If you pick up a golf ball sized clump of the pulp, you should be able to form it into a ball in your hand without it completely falling apart or dripping water everywhere. If it’s too wet, strain out more water. If it’s too dry, spritz a bit of water over the pulp.
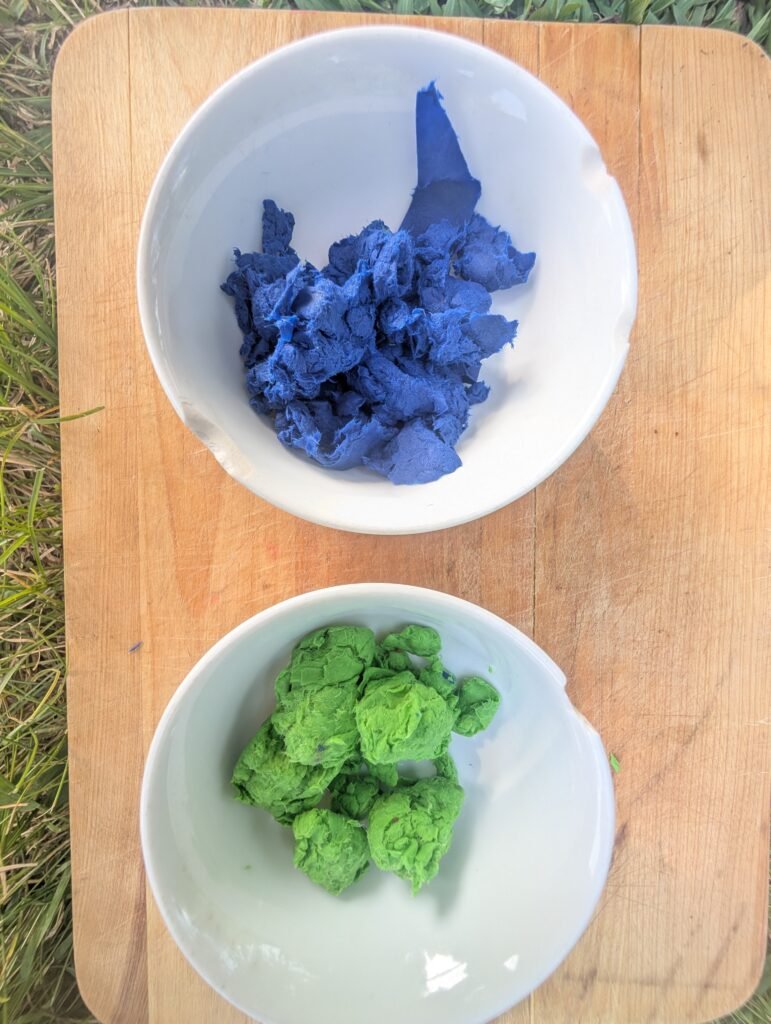
- Once your pulp is strained, you have a few options of how to create the garden seed bombs. You can divide the seed bombs amongst the number of project participants and give them their own small bowl of pulp. They can sprinkle a ½ teaspoon of seeds over their pulp and roll them into balls. Or you can mix the whole batch of pulp with the enter pack of seeds and create several seed bombs all at once. You want to make the seed bombs slightly smaller than a golf ball.
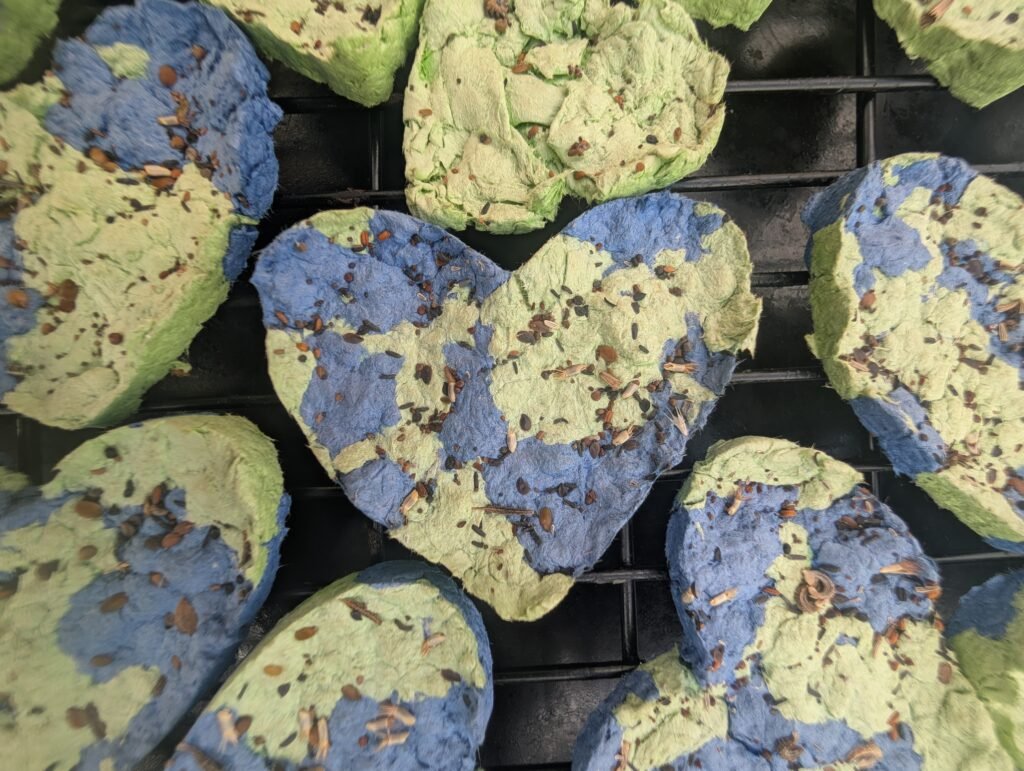
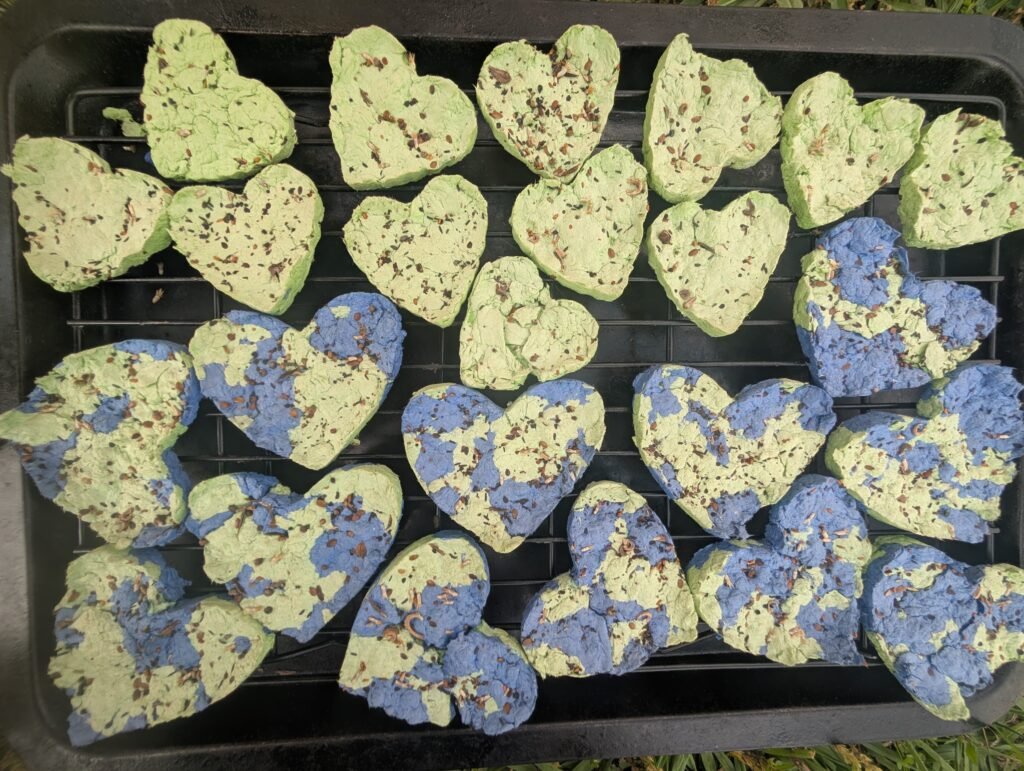
- Another fun way to create seed bombs is to use cookie cutters as molds. Gently press the pulp into a cookie cutter and sprinkle the seeds on top. Carefully press the wet pulp forms out of the cookie cutter to dry.
- Whether you make round seed bombs or press them into cookie cutters, they will need to dry fully before they can be stored for planting. You can let them dry on a plate or lay them out on cooling racks. Placing them out in the sun on a dry day will speed up the drying process.
- Once dry, seed bombs can be stored until you’re ready to use them. They also make great gifts for different occasions.
How to Use Garden Seed Bombs
When you’re ready to plant your seed bombs, you have a few options. You can tuck them into a garden container, raised bed or existing garden bed in the ground. Once planted, you can water them or wait for nature to share some rain. Once wet, the paper helps the seeds stay moist for quite a few days. If you prefer a wilder approach, throw them along the edge of your yard or woods and see what takes root. You could even bring some on a walk or hike and toss them along a trail, sidewalk area or field. The next time you walk there, you may be greeted with the sight of blooming wildflowers!
If you’re looking for a small, garden project to try this season, look no further than garden seed bombs. This is a great hands-on project for kids, a girls’ night or just a fun way to use up some old flower seeds. Give it a try and see what blooms!
One Last Thing
And before we wrap up, I’d love to share one more way you can get involved. Teaching nature classes is one of my greatest joys, and if you’re in the Middle Tennessee area, you’re invited to join me this fall. I have a full semester of classes open now.
As a fellow homeschool mom of 10+ years—and a garden designer and nature educator—I’m passionate about helping kids experience the wonder of God’s creation. With screens pulling kids indoors more than ever, time in nature is a powerful antidote. But knowing where to start can feel overwhelming.
If you want your children to spend more time outside, learning, exploring, and growing in the garden, I’m here to guide you. Let’s help them reconnect with the world God made. Click the link here to learn more and sign up if you have kids that are the right age and in the area.