How to Dry Your Own Herbs for Tea: A Step-by-Step Guide
One of my favorite things to enjoy on a cold winter evening is a warm mug of herbal tea. It’s soothing, relaxing and reminds me of all the garden goodness that I harvested just a few months back. While there are countless options for herbal teas available at your local grocery store, nothing can top the flavor and potency of herbal tea made from freshly dried herbs. This is true for all herbs, whether you use them in your dinner meal or a cup of hot tea; the flavor is unbeatable. So read on for a step-by-step guide on how to dry your own herbs for tea.

Drying your own garden herbs for tea is a simple process that requires very little time or tools. You can harvest herbs throughout the growing season and start to build up your supply to keep in your pantry. This is especially helpful come winter when fresh herbs are harder to come by and the grocery store counterparts pale in comparison. So, let’s get into the details of drying garden herbs, from harvesting to storage, so you can enjoy fresh herbal teas anytime!
Why Dry Your Own Herbs for Tea?
Before diving into the how-to, you might be wondering why you should dry your herbs for tea instead of buying pre-packaged tea bags. Here are a few reasons:
- Freshness & Flavor: When you grow your own herbs, you can harvest them at their peak freshness, which means your dried herbs will retain more of their natural oils and flavors.
- Cost-Effective: Growing and drying your own herbs is far more affordable than constantly purchasing specialty teas from the store. Those can add up quickly!
- Custom Blends: You have complete control over what herbs you use, allowing you to create unique, personalized tea blends that suit your taste.
- Sustainability: By drying your own herbs, you reduce packaging waste and can avoid synthetic additives often found in store-bought teas.
- Increased Production: When you continually harvest herbs throughout the season, it promotes more growth in the plant. Instead of shifting to seed production, the plant stays focused on growing more leaves. You can be snipping herbs for fresh use in tonight’s dinner along with reserving some to dry. The more you cut, the more they’ll grow!
Now that we’ve covered the benefits, let’s dive into the steps.
Step 1: Choose the Right Herbs
Not all herbs are created equal when it comes to drying for tea. Some herbs dry better than others, and their flavor profiles differ. If you’re just starting out, here are some great herbs for drying and making tea:
- Mint: Refreshing and soothing, mint is a classic herb for tea and is one of my personal favorites. There are several varieties of mint available. I enjoy growing peppermint and apple mint.
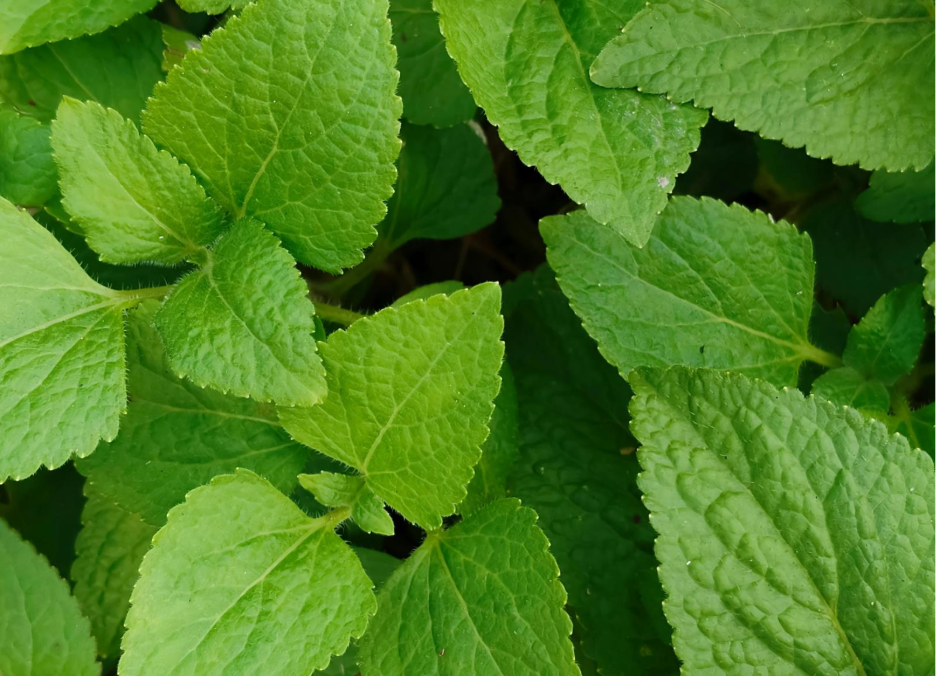
- Lemon Balm: Lemon balm offers a mild citrus flavor that’s both relaxing and refreshing.
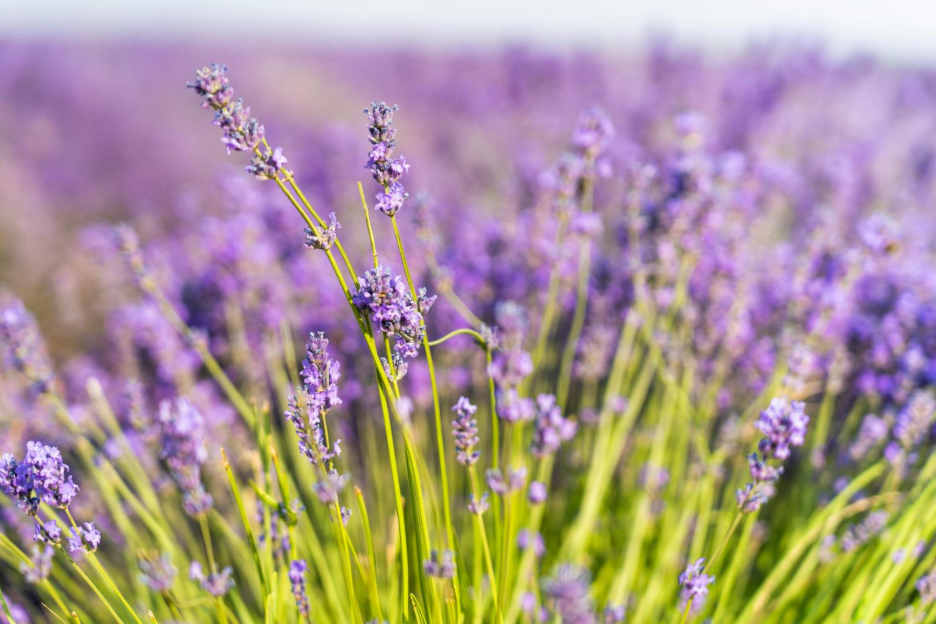
- Lavender: Perfect for a calming evening tea, lavender provides a floral and aromatic flavor. It also can be dried for use in hot rice packs and other therapeutic uses.
- Lemon Verbena: This is a citrusy herb that’s ideal for a fresh, zesty tea.
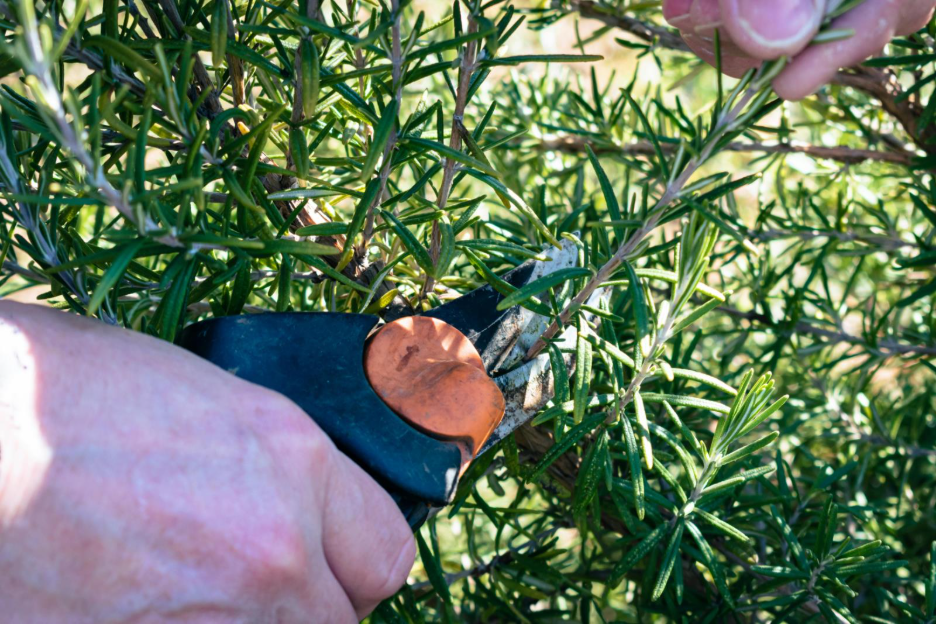
- Rosemary: While strong, rosemary can make a lovely herbal infusion with a bold, savory flavor. A little goes a long way. This is always a staple in my garden for both tea and savory dishes.

- Thyme: Thyme has antimicrobial properties and can help with respiratory issues. It’s often used in medicinal teas and packs a health punch when paired with raw honey. It’s also another herb I always grow for use in regular cooking.
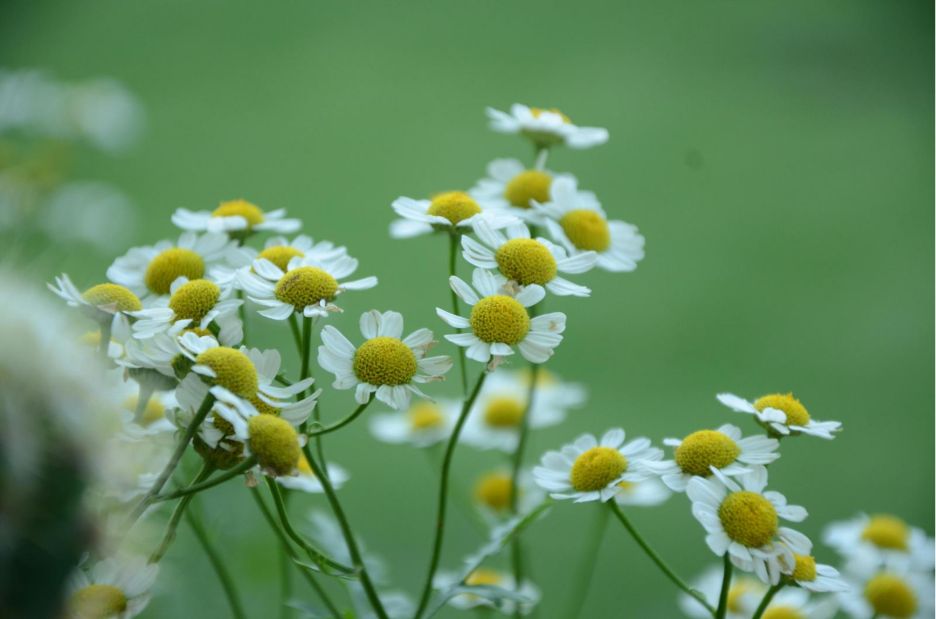
- Chamomile: Chamomile makes a soothing, bedtime tea and looks beautiful in the garden too!
Start with growing and drying herbs that you enjoy and will use regularly. Then you can play around with different blends to create your own favorite tea combinations.
Step 2: Harvesting Your Herbs
The best time to harvest your herbs is in the morning, after the dew has dried but before the sun is too hot. This ensures the plant’s essential oils, which give the herbs their flavor, are at their peak.
Here’s how to harvest:
- Use Clean Scissors or Pruners: Clean tools are essential to prevent contamination and ensure a clean cut.
- Harvest the Right Amount: Trim the herbs when they are mature but not flowering. Flowers can sometimes introduce bitterness to the flavor.
- Leave Some Behind: Always leave enough of the plant behind to continue growing, so you can harvest again later.
- Avoid Wet Herbs: If it’s a dewy morning, wait until the plants are dry. Excess moisture can promote mold when drying.
Step 3: Preparing the Herbs for Drying
After harvesting, you’ll need to prepare your herbs for the drying process. Here’s what you need to do:
- Pick out Debris: First, grab a small bundle of herbs and give them a gentle shake to dislodge any major pieces of dirt. Pick out any major pieces of leaves, grass or other debris.
- Clean the Herbs: Gently rinse your herbs under cool water to remove any dirt or insects. Pat them dry with a clean towel or paper towel. Don’t soak them since too much moisture can affect the drying process.
- Trim the Stems: If the stems are too woody, you can trim them down to make the herbs more manageable. For leafy herbs like mint, thyme, or lemon balm, you can leave the stems attached.
Step 4: Methods to Dry Your Own Herbs for Tea
There are several ways to dry herbs, and each method has its pros and cons. Here are the most common methods:
1. Air Drying
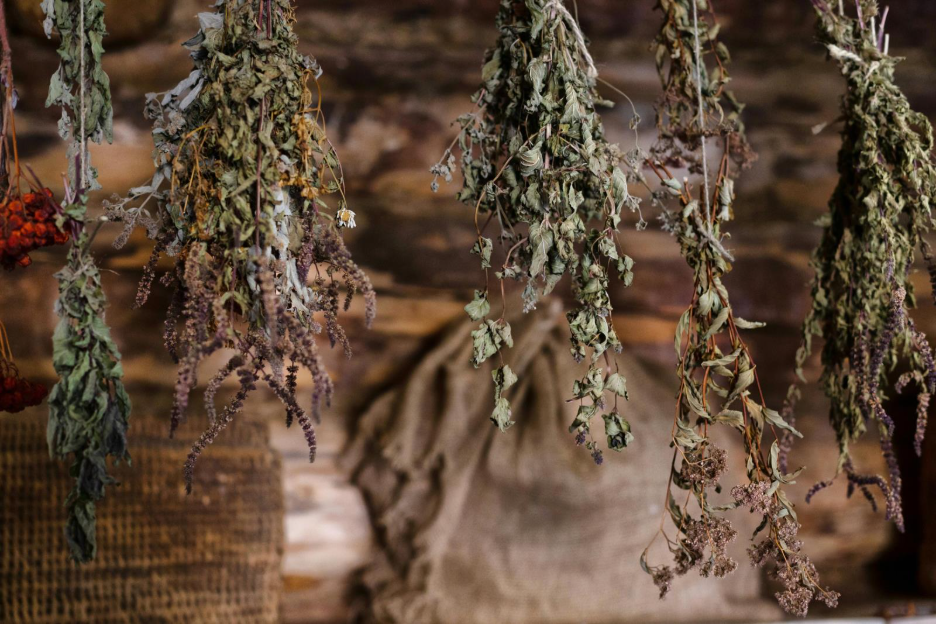
This is the most traditional and simplest method, especially if you have a good amount of space and time. Air drying works best in a warm, dry environment with plenty of airflow. This is my preferred method because it requires very little direct use of my time and very few tools. Just a hook and some twine.
How to air-dry:
- Bundle Your Herbs: Gather your herbs into small bundles. Use a string or rubber band to secure the stems together.
- Hang Them Upside Down: Hang the bundles in a warm, dry, and well-ventilated area, away from direct sunlight. A pantry, closet, or shed works well. I like to hang mine in a corner of my kitchen away from direct sunlight. I have some hooks in my ceiling, and I simply loop the twine from the bundle of herbs onto the hook.
- Allow Drying Time: Depending on the humidity and temperature, it can take anywhere from 1 to 2 weeks for herbs to dry completely.
2. Oven Drying
If you’re in a hurry or live in a humid area, the oven is a faster method. But watch your herbs closely, otherwise it’s easy to overheat the herbs.
How to oven-dry:
- Preheat the Oven: Set your oven to the lowest temperature setting, typically around 100–110°F (37–43°C).
- Prepare the Herbs: Place your herbs in a single layer on a baking sheet lined with parchment paper.
- Check Frequently: Place the herbs in the oven and leave the door slightly ajar to allow moisture to escape. Check every 30 minutes to ensure they don’t burn.
- Cool Down: Once the herbs are fully dry, let them cool down before storing them.
3. Dehydrator Drying
A dehydrator is a great option for quickly drying herbs while preserving flavor and nutrients. Depending on the size of your dehydrator and the number of herbs you want to dry, you may need to do this in several batches.
How to use a dehydrator:
- Prepare the Herbs: Arrange your herbs in a single layer on the dehydrator trays.
- Set the Temperature: Set the dehydrator to 95°F (35°C). This is ideal for herbs to dry without cooking them.
- Dry Time: Herbs typically take 1-4 hours, depending on the moisture content and size of the herbs.
Step 5: Storing Your Dried Herbs
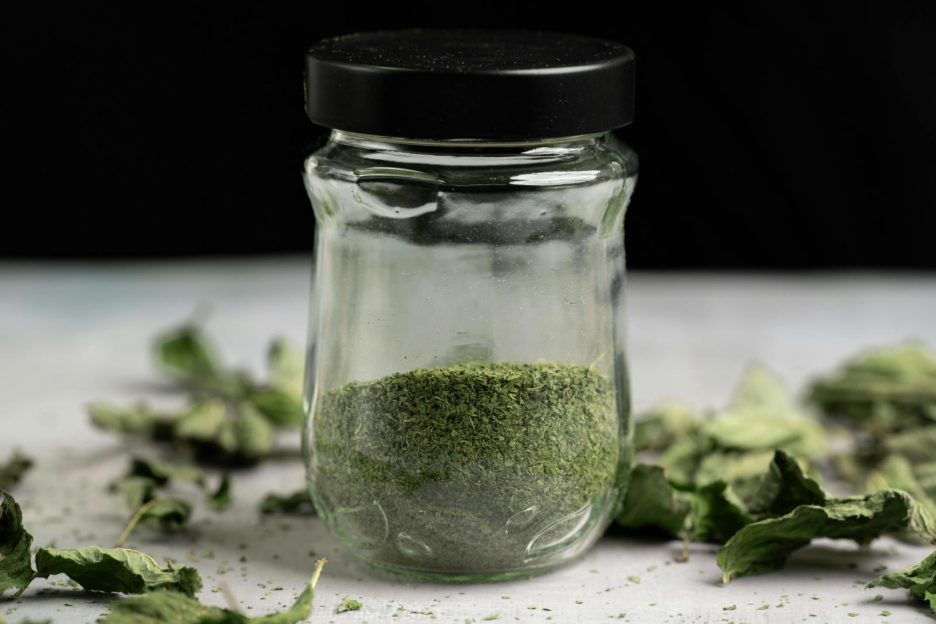
Proper storage is key to keeping your dried herbs fresh and flavorful. Here’s how to store them:
- Glass Jars: Glass jars with airtight lids are ideal for storing dried herbs. Mason jars or other glass containers work great.
- Avoid Sunlight: Store your herbs in a dark, cool place to prevent the loss of flavor and essential oils. A pantry or cupboard is perfect.
- Label and Date: Always label your jars with the herb’s name and the date of drying. Dried herbs generally stay fresh for about 1 year. If you’re drying several kinds of one herb, such as different mint varieties, label them clearly. They all look similar when dried, trust me!
- Avoid Crushing: Store herbs whole to retain their flavor as much as possible. Crush them only when you’re ready to brew the tea.
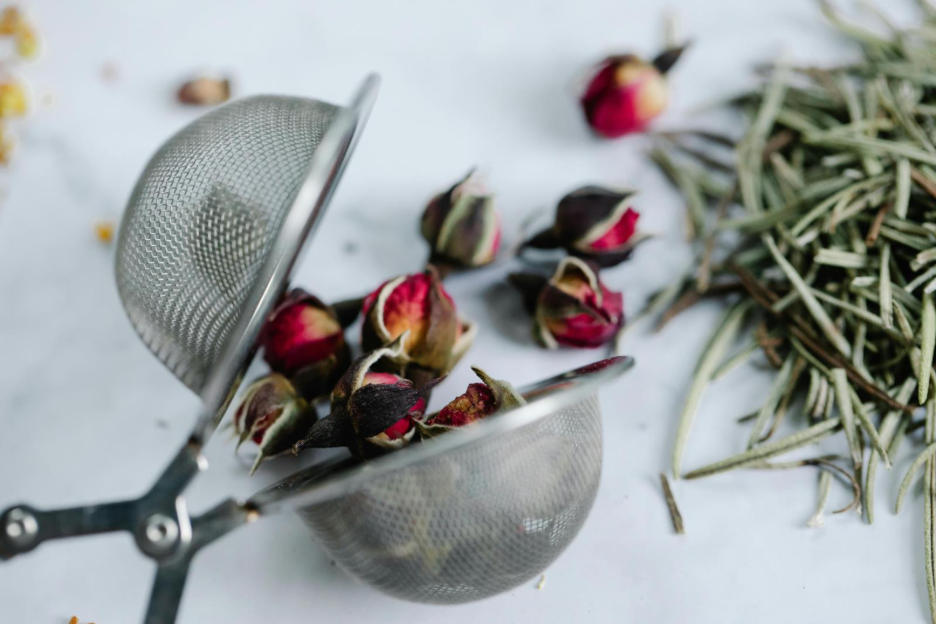
Step 6: Brewing Your Tea
Now that you’ve dried your own herbs, it’s time to make a cup of tea! Here’s a simple process:
- Use 1–2 teaspoons of dried herbs per cup of hot water.
- Steep for 5–10 minutes, depending on the strength you prefer. I like to use a metal tea ball to make for easy removal of tea leaves once they’ve steeped. If you like to make a larger batch, you can also use a tea pot with a built-in strainer.
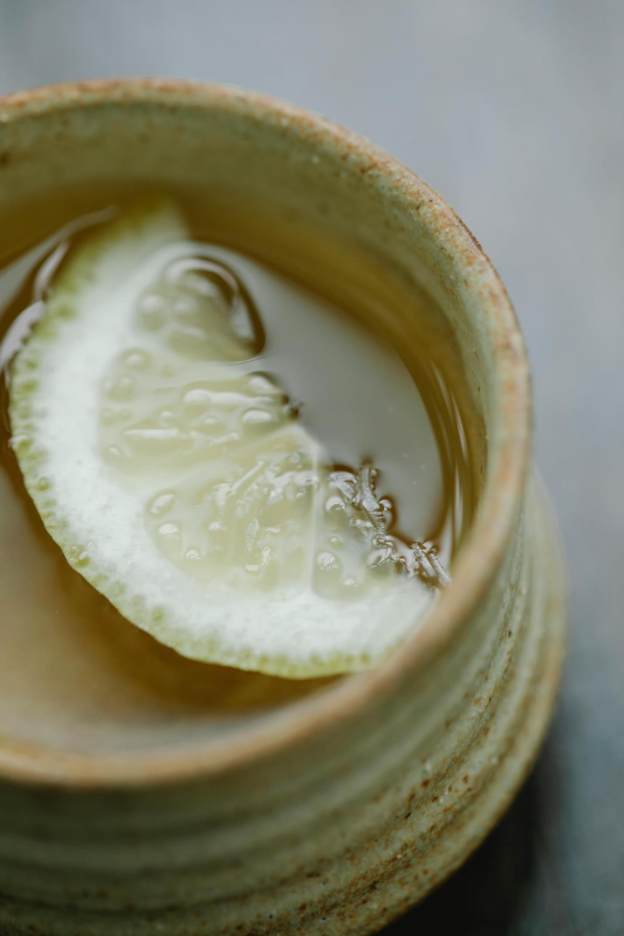
- Sweeten or Add Extras: Consider adding honey, lemon, or a touch of cinnamon to enhance the flavor.
When you dry your own herbs for tea you to get maximum flavor and health benefits from the plant. The cost savings of drying your own herbs verses buying them is also no small benefit. Plus, nothing beats the scent and taste of a warming mug of tea on a cold winter day. Even better when it’s made with herbs that you grew and harvested!
Happy harvesting and brewing!